Oak leaves
Redbud Flowers
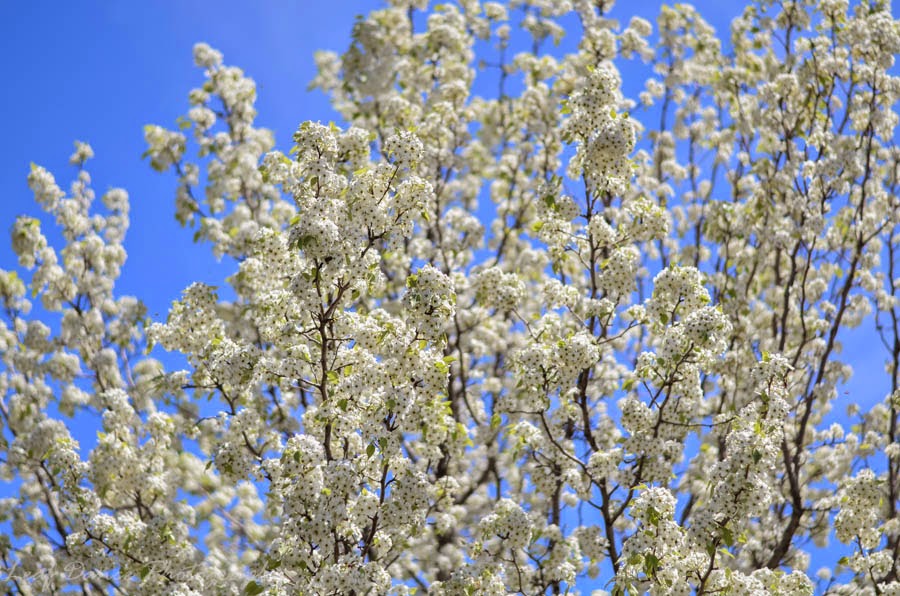
Bradford Pear
Crabapple Flowers
Crabapple flowers and Tulips; Bonus!
Plum leaves
A different Crabapple
Through His Grace,
~Jenny
Showing posts with label 1.8 - 50mm. Show all posts
Saturday, May 10, 2014
Friday, May 9, 2014
Goats!
As I mentioned before, I have a friend who makes and sells homemade goats-milk soap.
Their goats had kids a few weeks ago, and just a few days after the first couple were born, they invited us out to come see and take pictures of them!
Goats are indeed well known for eating clothes, but this baby goat wasn't eyeing the skirt as potential food-
They were more interested in snuggling! = )
As I've never been around baby goats before, I wasn't sure quite what to expect, so I was rather surpriseed when one of them rammed his little head gently into my knee like a puppy!
In fact, they were a lot like puppies, except that they didn't lick you, though they would kinda nibble on your fingers if you held them out...
This is Rachel. =)
Caught this one trying to be 'grown up' and eat sticks or leaves from the mulch pile!
We spent most of the time running up and down the mulch pile, with them leaping, jumping and falling after us. ;)
Hope you all enjoyed those as much as we did!
Next I'll have another post or two of the spring foliage, then a post on the wedding I shot. =)
Through His Grace,
~Jenny
Their goats had kids a few weeks ago, and just a few days after the first couple were born, they invited us out to come see and take pictures of them!
Goats are indeed well known for eating clothes, but this baby goat wasn't eyeing the skirt as potential food-
They were more interested in snuggling! = )
As I've never been around baby goats before, I wasn't sure quite what to expect, so I was rather surpriseed when one of them rammed his little head gently into my knee like a puppy!
In fact, they were a lot like puppies, except that they didn't lick you, though they would kinda nibble on your fingers if you held them out...
This is Rachel. =)
Caught this one trying to be 'grown up' and eat sticks or leaves from the mulch pile!
We spent most of the time running up and down the mulch pile, with them leaping, jumping and falling after us. ;)
![]() |
| Somehow, it seems like this picture needs a caption; cause the one on the right looks like he's plotting something for his sister... |
Hope you all enjoyed those as much as we did!
Next I'll have another post or two of the spring foliage, then a post on the wedding I shot. =)
Through His Grace,
~Jenny
In this post
1.8 - 50mm,
Animal,
Farm life,
Goats,
Mamba Bars,
Spring
Tuesday, March 18, 2014
Picture Frame Earring Holder // DIY Project
It simply happens.
It is inevitable.
When your sister makes jewelry, your earrings are bound to multiply like rabbits. ;)
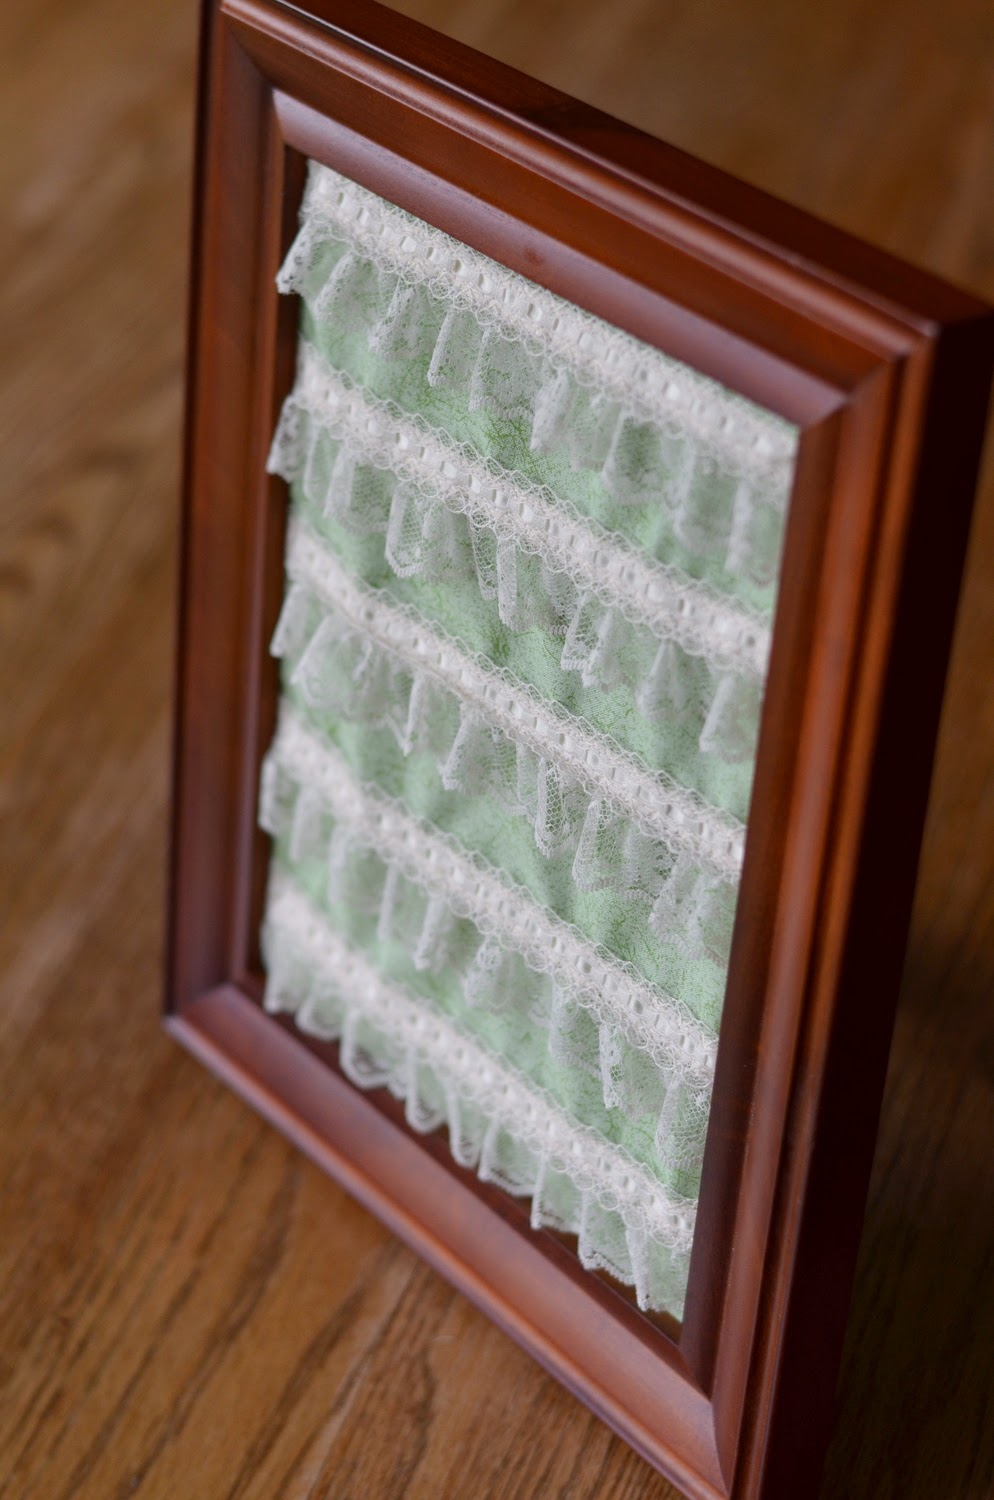
Once I noticed this phenomenon was happening, and the toll it was taking on my current earring holder, a piece of plastic cross stitch canvas, I decided I needed something else to hold my earrings. Something much more sturdy, that my earrings were less prone to randomly falling out of. A picture frame with fabric between the frame and backing, fit all the requirements, besides being very customizable and low on sewing experience.
There are countless similar ideas on the web, of using a picture frame or quilting hoop with fabric and lace behind it, but I wasn't working from any particular pattern.
Rather, my sister adapted a pattern to suit a 10 x 8 picture frame and worked out the details herself, and I- uh, just copied hers.
I used:
- 10 x 8 in wooden frame
- 1/2 yard of fabric
- 2 yards of lace
- matching thread
- Piece of sturdy cardboard cut to the size of the backing
- Scissors
- Pins
- Sewing machine
The rest is pretty simple:
1. Cut the cardboard to size:
2. For the fabric, add two inches to the dimensions of the frame for wiggle room, and pin the strips of lace.
For mine, since the frame was 10 x 8, I cut my piece of fabric to 12 x 10. I also used 5 strips of lace, each cut to approximately 10 in. long.
3. Sew 'em down!
4. Take pictures. (Optional)
5. Layer as shown: Frame, fabric, cardboard and backing.
6. Make sure lace rows are straight.
Then it's finished!
The great thing about using lace, is that you can stick the earrings practically anywhere you like!
Hope this inspirational tutorial was helpful!
God Bless,
~Jenny
In this post
1.8 - 50mm,
DIY Project,
Earring Holder,
Jewelry
Subscribe to:
Posts (Atom)